I have heard of Panda for a long time, but never knew that they had a freeware solution. Before I started using freeware software, I have once used an antivirus product made by the company. My previous experience with the company was actually quite nice. So was this product. This product requires very little to provide a lot of rewards.
Installation (with screenshots for those who don't know what they're doing)
Download cloud from this link Panda Security website.
Minimum requirements
- Internet Connection (for registration which is required for Cloud Antivirus)
- Email Account (many free webbased emails are available for those who don't have one)
- Operating system: Windows Vista (32 bit), Windows XP 32 bit (SP2 or SP3), Windows 7
- Memory (RAM) : 64 Mb (many computers should meet this)
- Free space of hard disk: 100 Mb
- Internet Explorer 6+ (Windows XP and Vista computers should already have this)

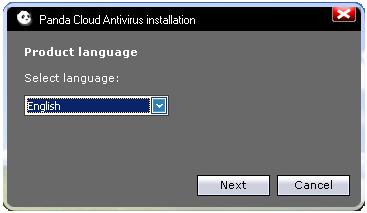
The next dialog asks for the language. Click Next. (Select a different language if English is not your first language)
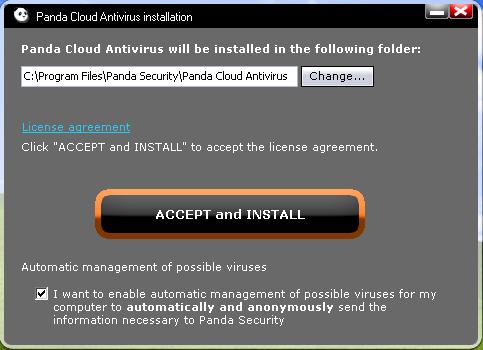
Read the license agreement by clicking on the link. Then click "Accept and Install".
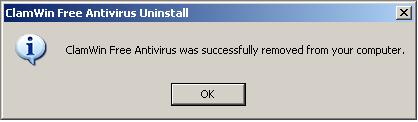
***If the installer detects another antivirus solution on the computer, it will prompt you to uninstall it. (ignore this step if you don't see the screen below) If you see this screen, Click "uninstall" to remove the programs. Click "cancel" to ignore it. (Since Clamwin is not a real-time antivirus solution, I didn't really need to uninstall it)
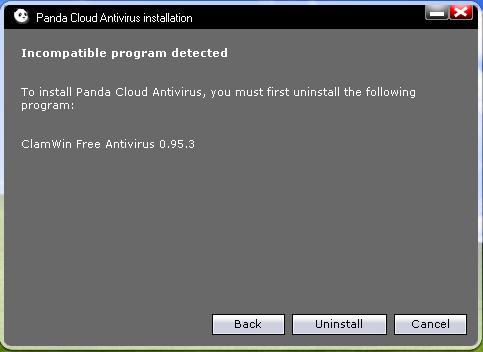
This will take to the antivirus uninstaller. Complete that and restart the installation by loading the Cloud Antivirus installer again. Repeat the steps again, but this time, you won't be prompt to uninstall another antivirus.

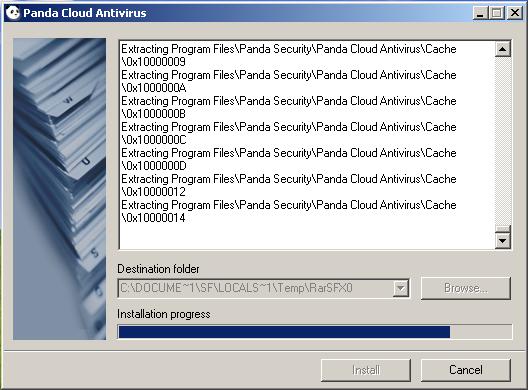
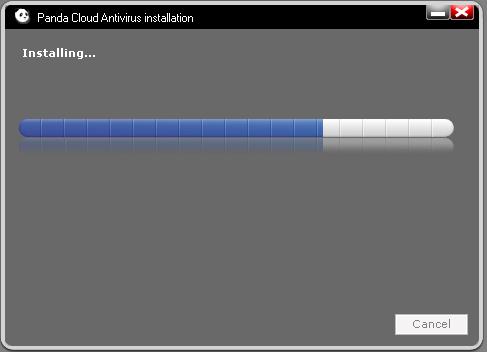
Installer will now install Cloud Antivirus on the computer.
Cloud antivirus will now prompt you to register with them. Click register to sign up for an account. Check your email for your activation email and sign in. You are now protected by Cloud Antivirus.

*I know the end of the guide lacked screenshots. I forgot to take them and can't be bother repeating the installation process just to take them. If anybody has any problems, post a comment. I am not a computer genius, but I will try my best to help.
No comments:
Post a Comment